instruction manual for kenmore sewing machine model 385
Unboxing and Initial Setup
Carefully unpack the Kenmore 385 sewing machine from its box, ensuring all components are included and undamaged. Place the machine on a stable, flat surface. Plug in the power cord and prepare for initial use by referring to the manual for setup guidance.
1.1. Checking the Contents of the Package
Upon unboxing, verify the Kenmore 385 sewing machine package contains the main unit, power cord, sewing pedal, bobbins, needles, and an instruction manual. Ensure all accessories are included and inspect for any visible damage. If any items are missing or damaged, contact customer support immediately for assistance. Properly organizing these components will ensure a smooth setup process.
1.2. Placing the Machine on a Stable Work Surface
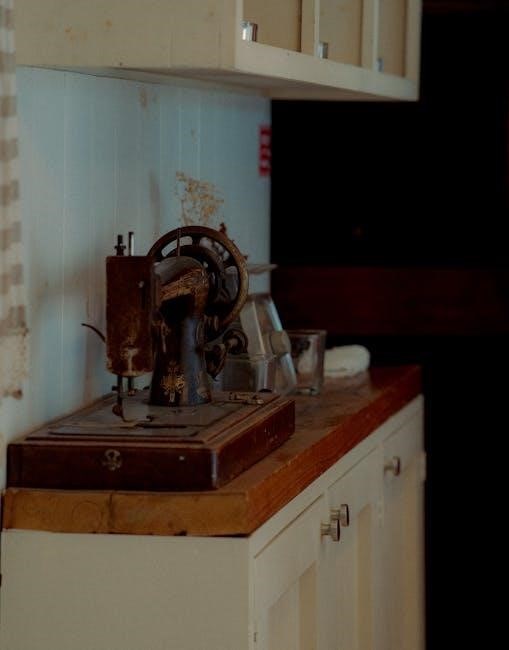
Position the Kenmore 385 sewing machine on a sturdy, flat work surface, such as a sewing table or desk. Ensure the area is clear of clutter and distractions. Gently place the machine down to avoid damaging the internal components. The surface should be level to maintain proper balance and prevent vibration during operation; Plug in the power cord, ensuring it is securely connected to both the machine and a nearby outlet.
Identifying Parts of the Kenmore 385 Sewing Machine
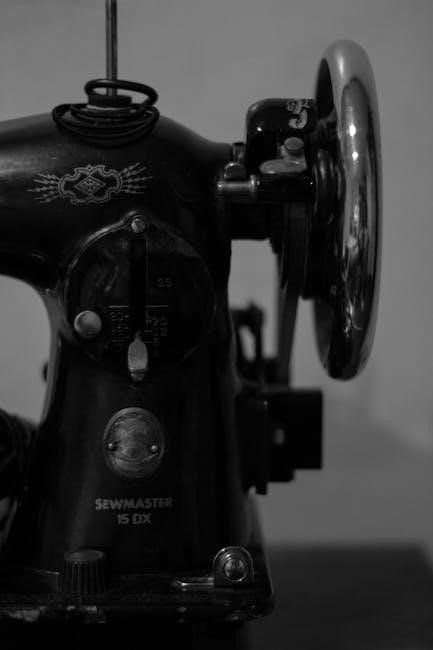
Familiarize yourself with key components like spool pins, bobbin winder, tension dials, handwheel, and power cord. These parts are essential for proper machine operation and maintenance.
2.1. Locating the Spool Pins, Bobbin Winder, and Tension Dials
Locate the spool pins on the top of the machine for threading. The bobbin winder is typically on the side, near the handwheel. Tension dials are usually on the front or side, controlling thread tightness. These components are essential for proper setup and operation.
2.2. Understanding the Function of the Handwheel and Power Cord
The handwheel, located on the right side, controls the needle’s up-and-down movement. Turning it manually raises or lowers the needle, helpful for starting or ending stitching. The power cord connects the machine to an electrical outlet, enabling motorized operation. Always ensure the cord is securely plugged in and avoid overloading the circuit for safe and efficient sewing.
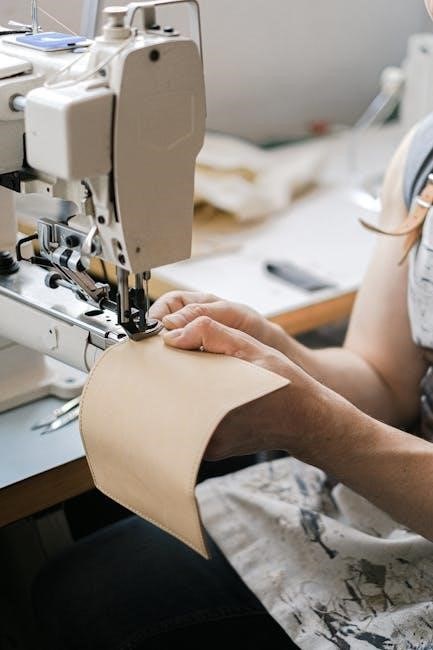
Threading the Sewing Machine
Threading is essential for proper machine operation. Guide the upper thread through the tension discs and take-up lever, then insert into the needle. Refer to the manual for detailed steps.
3.1. Step-by-Step Guide to Threading the Upper Thread
Insert the thread into the tension disc, located at the top of the machine. Ensure it clicks securely.
Loop the thread around the take-up lever, moving it from right to left.
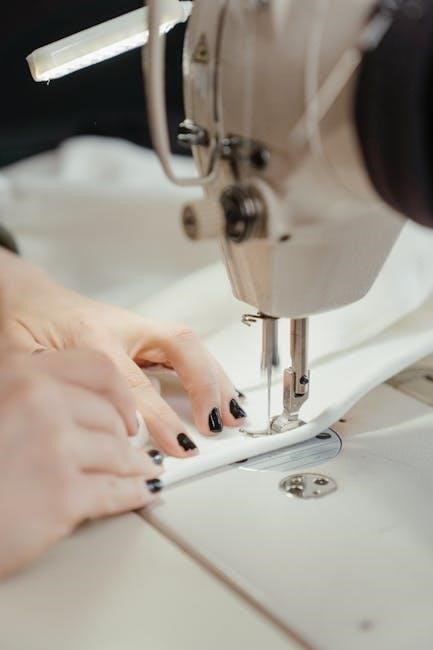
Guide the thread through the needle bar and insert it into the sewing machine’s needle from front to back.
Gently pull the thread to remove any slack, ensuring proper tension. Always refer to the manual for precise alignment and tension adjustment.
3.2. Properly Threading the Bobbin
Place the bobbin on the machine’s bobbin winder, ensuring it aligns correctly.
Insert the thread through the bobbin’s hole and wind it evenly, stopping when full.
Cut the excess thread and insert the bobbin into the bobbin case.
Gently pull the thread to ensure it’s seated properly in the machine. Always maintain the correct tension for smooth stitching.
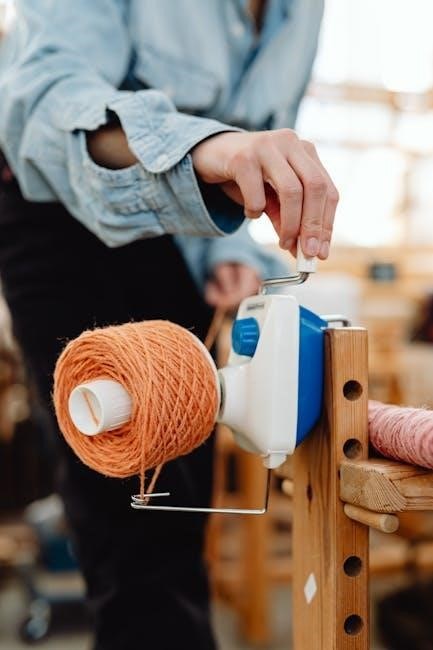
Winding the Bobbin
Place the bobbin on the winder, thread it through the guide, and wind evenly until full. Stop, cut excess thread, and ensure proper tension for smooth operation. Refer to the manual for specific diagrams and adjustments.
4.1. Preparing the Bobbin for Winding
Insert the bobbin into its holder, ensuring it is securely seated. Align the bobbin notch with the spindle. Gently pull the thread to remove any slack and cut excess. Ensure the bobbin is empty or has the correct thread type before winding. Refer to the manual for specific diagrams to confirm proper preparation. This step ensures smooth winding and prevents tangles or uneven thread distribution.
4.2. Correctly Winding the Bobbin with Thread
Place the thread on the spool pin and guide it through the bobbin tension guide. Turn the handwheel gently to start winding. Stop halfway to cut excess thread, then continue winding until the bobbin is 2/3 full. Avoid overfilling. Remove the bobbin and trim the thread end. Ensure the thread is evenly distributed for smooth sewing performance. Always refer to the manual for precise winding techniques.
Selecting and Sewing with Different Stitches
The Kenmore 385 offers various stitch options, including straight, zigzag, and decorative stitches. Use the stitch selector dial to choose the desired stitch for your fabric type. Adjust stitch length and width as needed for optimal results. Always test stitches on scrap fabric before sewing your final project.
5.1. Overview of Available Stitch Options
The Kenmore 385 sewing machine features a variety of built-in stitches, including straight stitch, zigzag, and decorative options. These stitches cater to different sewing needs, from basic repairs to intricate designs. The machine also allows for customization, enabling users to adjust stitch length and width for optimal fabric compatibility. This versatility makes it suitable for both beginners and experienced sewers, ensuring precise and professional results.
5.2. Adjusting Stitch Length and Width
To customize your sewing experience, adjust the stitch length and width using the designated dials on the Kenmore 385. The stitch length dial controls the distance between stitches, while the width dial sets the stitch’s breadth. Turn the dials clockwise or counterclockwise to achieve the desired settings; Always test the adjustments on scrap fabric before sewing your final project to ensure optimal results for various fabrics and stitch types.
Maintenance and Cleaning
Regularly clean the machine by removing dust and lint from the bobbin area and tension discs. Oil the machine as instructed to ensure smooth operation and longevity.

6.1. Regular Cleaning of the Machine
Turn off and unplug the Kenmore 385 sewing machine. Use a soft brush or cloth to remove lint and debris from the bobbin area, tension discs, and stitch plate. Avoid using harsh chemicals or abrasive materials that could damage the finish. Regular cleaning ensures optimal performance and prevents thread breakage or mechanical issues. Refer to the manual for detailed steps and safety precautions.
6.2. Oiling the Machine for Smooth Operation
Regularly oil the Kenmore 385 sewing machine to maintain smooth operation. Apply a few drops of sewing machine oil to the hook area, bobbin race, and other moving parts. Gently turn the handwheel to distribute the oil evenly. Avoid over-oiling, as excess oil can attract lint and dust. Use high-quality sewing machine oil for optimal performance. Refer to the manual for specific oiling points and frequency recommendations.
Troubleshooting Common Issues
Identify common issues like thread breakage, tension problems, or faulty bobbin and needle. Check and adjust these components as needed to restore smooth operation.
7.1. Resolving Thread Breakage and Tension Problems
Thread breakage often occurs due to improper threading or incorrect tension settings. Check the thread path and ensure the spool pin and bobbin are correctly aligned. Adjust the tension dials to achieve balanced stitch formation. If issues persist, consult the manual for guidance on resetting tension or rethreading the machine properly.
7.2. Fixing Issues with the Bobbin or Needle
If the bobbin is not seated correctly, remove it and ensure it is properly aligned before reinserting. For needle issues, check if it is bent or damaged and replace it with a new one. Always refer to the manual for specific instructions on replacing parts. Proper alignment and correct installation are crucial for smooth operation and consistent stitching quality.

Advanced Features and Accessories
Explore advanced features like specialized presser feet and custom stitching options. Accessories include additional needles, bobbin cases, and custom presser feet for enhanced sewing capabilities and versatility.
8.1. Using Optional Presser Feet for Specialized Sewing
Optional presser feet enhance sewing versatility. Use the zipper foot for precise zipper installation, the zigzag foot for decorative stitching, and the blind hem foot for invisible hems. Attach the desired foot by snapping it onto the machine’s presser foot holder, ensuring it clicks securely. Consult the manual for specific attachment guidance and recommended uses for each foot type to achieve professional results in various sewing projects.

8.2. Attaching and Detaching the Sewing Machine Pedal
Attach the pedal by aligning its connector with the machine’s pedal port and gently pushing until it clicks. To detach, press the release button on the pedal cord and pull it away from the machine. Store the pedal in a safe, dry place when not in use to prevent damage or tripping hazards. Always ensure the pedal is securely connected for smooth operation.
Safety Precautions and Warranty Information
Adhere to all safety guidelines to avoid accidents. Keep loose clothing tied back and avoid sewing flammable materials. Refer to the warranty section for coverage details and registration instructions.
9.1. Important Safety Guidelines for Operation
Always read the manual before first use. Keep children and pets away while operating the machine. Tie back loose clothing and long hair. Avoid sewing flammable materials. Ensure the machine is placed on a stable, flat surface. Unplug when not in use. Refer to the warranty section for coverage details and maintenance tips.
9.2. Understanding the Warranty Coverage
The Kenmore 385 sewing machine warranty covers parts and labor for a specified period, typically excluding normal wear items like needles and belts. Warranty validity requires proper machine maintenance. For detailed terms, refer to the manual or manufacturer’s website. Keep the purchase receipt as proof of ownership. Warranty repairs must be performed by authorized service centers to maintain coverage.
Mastering the Kenmore 385 sewing machine requires practice and patience. Regular maintenance, proper threading, and exploring stitch options will enhance your sewing experience. Happy sewing!
10.1. Best Practices for Long-Term Machine Performance
Regularly clean and oil the machine to maintain smooth operation. Always use high-quality threads and needles. Store the machine in a dry, cool place. Properly thread and tension the machine before sewing. Avoid overloading the machine with thick fabrics. Refer to the manual for specific care instructions to ensure optimal performance and extend the machine’s lifespan.
10.2. Resources for Further Assistance and Support
For additional help, visit the official Kenmore website or Sears PartsDirect for genuine accessories. Consult online forums and sewing communities for troubleshooting tips. Contact Kenmore customer support for professional assistance. Refer to the manual or download updated guides from trusted sources. Utilize local sewing shops or authorized service centers for hands-on guidance and repairs, ensuring your machine remains in optimal condition.