canon a1 instruction manual
The Canon A-1, produced from 1978 to 1985, is a highly versatile SLR camera known for its advanced features and manual control options. This guide provides essential instructions to unlock its full potential, ensuring photographers can master both automatic and manual shooting modes effectively.
Overview of the Canon A-1 Camera
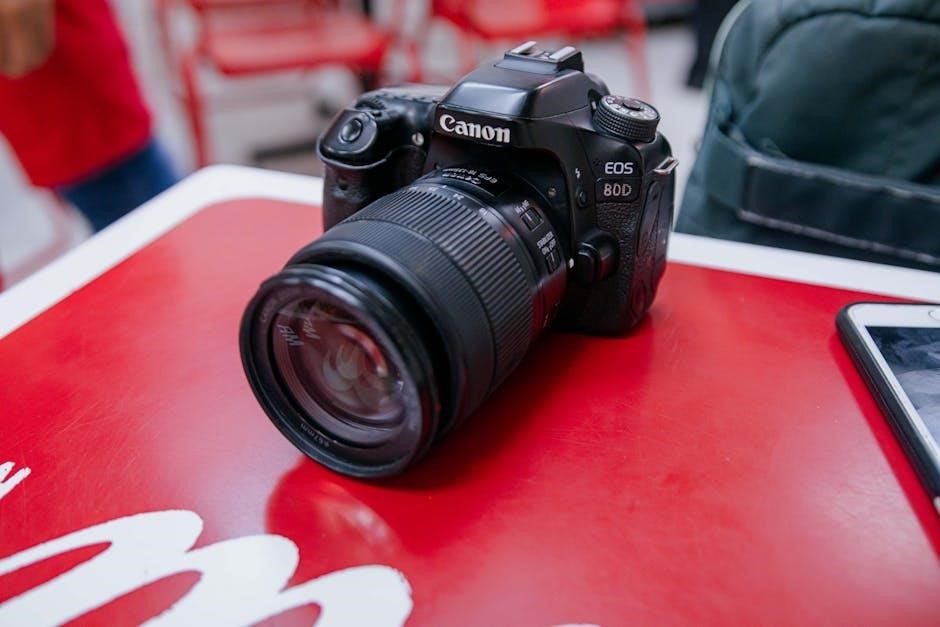
The Canon A-1 is a legendary 35mm SLR camera produced from 1978 to 1985, offering advanced features like manual control, aperture priority, and shutter priority modes. Designed for both professionals and enthusiasts, it provides unparalleled flexibility. The camera features a built-in metering system, interchangeable lenses, and compatibility with accessories like the Speedlite 199A flash. This guide helps users master its operation, ensuring optimal performance in various photography scenarios.
Importance of the Instruction Manual
The Canon A-1 instruction manual is crucial for unlocking the camera’s full potential. It provides detailed guidance on loading film, setting ASA speed, and using manual overrides. The manual explains the LCD display, flash synchronization, and troubleshooting tips. Without it, users may miss essential features like the Motor Drive MA-8 and Remote Release. Reading the manual ensures proper camera operation and enhances photography outcomes. It’s a must-have resource for both novice and experienced photographers.
History of the Canon A-1
The Canon A-1, introduced in 1978, is a landmark SLR camera known for its advanced features and historical significance in photography. It was produced until 1985.
Key Features of the Canon A-1
The Canon A-1 features an advanced automatic exposure system with manual override, allowing photographers to adjust aperture and shutter speed. It supports interchangeable lenses and the Motor Drive MA-8 for faster shooting. The Speedlite 199A flash unit enhances low-light photography. The camera’s LCD display shows settings like aperture, shutter speed, and flash readiness. Its durability and versatility made it a favorite among professionals and enthusiasts alike during its production years.
Historical Significance in Photography
The Canon A-1 marked a significant milestone in photography history as one of the first SLR cameras to combine advanced automatic features with manual control. Released in 1978, it set a new standard for versatility and accessibility, appealing to both professionals and hobbyists. Its influence can still be seen in modern camera designs, making it a celebrated piece of photographic heritage and a testament to Canon’s innovation during the late 20th century.
Understanding the Camera Components
The Canon A-1 features a LCD display for exposure settings, an aperture ring for manual control, and a mode dial for selecting shooting modes. These components ensure precise operation.
Main Components of the Canon A-1
The Canon A-1 consists of a LCD display for exposure settings, an aperture ring for manual control, and a mode dial for selecting shooting modes. It also features a Speedlite 199A flash unit for enhanced lighting, a Motor Drive MA-8 for faster shooting, and a remote release for stable operation. These components work together to provide precise control and versatility in photography, making the A-1 a robust tool for both automatic and manual shooting.
The Lens System Explained
The Canon A-1 features a FD lens mount, compatible with a wide range of Canon FD-series lenses. The aperture ring on the lens allows for precise manual control, working seamlessly with the camera’s metering system. The lens system supports automatic exposure modes when set to the “A” position, while manual override enables photographers to adjust aperture settings directly. This flexibility ensures optimal performance across various lighting conditions and creative needs.
Loading Film and Initial Setup
- Load the film and advance it to the first frame.
- Set the ASA film speed according to the film type.
- Ensure the lens aperture ring is set to the “A” mark for automatic exposure mode.
Step-by-Step Film Loading Process
- Open the camera back by sliding the release latch.
- Insert the film cartridge into the chamber, aligning it properly.
- Gently pull the film leader to the take-up spool.
- Advance the film to the first frame using the rapid advance lever.
- Close the camera back and ensure it clicks securely.
This process ensures the film is loaded correctly, ready for shooting.
Setting the ASA Film Speed
To set the ASA film speed on the Canon A-1, locate the ASA dial on the lens or camera body. Turn the dial to match the film’s sensitivity, ensuring proper exposure. This step is crucial before loading the film, as it calibrates the camera to the film’s light sensitivity. Always confirm the ASA setting matches your film type for optimal results. Adjusting the ASA after loading film can lead to incorrect exposures.

Exposure Control and Modes
The Canon A-1 offers precise exposure control through manual override and custom settings, allowing photographers to adjust aperture and shutter speed for tailored results in various lighting conditions.
Understanding Aperture and Shutter Speed
Aperture controls light entry through the lens, while shutter speed regulates exposure duration. Together, they determine image brightness and depth of field. The Canon A-1 allows manual adjustment of these settings, enabling photographers to achieve precise control over lighting and focus. Aperture is measured in f-stops, and shutter speed in seconds or fractions of a second. These settings, displayed on the LCD, are crucial for mastering exposure in various conditions.
Manual override on the Canon A-1 offers photographers precise control over exposure settings. By disengaging the lens aperture ring from the A mark, users can set custom apertures and shutter speeds; This feature is ideal for creative photography, allowing adjustments to suit specific lighting conditions. The LCD display provides clear feedback, ensuring accurate manual settings. This flexibility makes the A-1 a versatile tool for achieving unique visual effects in various shooting environments. The Canon A-1 supports flash photography with units like the Speedlite 199A, enhancing low-light shooting capabilities. This section covers setup, synchronization, and optimal flash techniques. The Speedlite 199A is a dedicated flash unit for the Canon A-1, offering automatic flash exposure and manual override capabilities. To use it, attach the flash to the camera’s hot shoe, ensuring proper alignment. Set the flash to the “A” position for automatic mode or adjust manually for precise control. Synchronize the flash with the camera’s shutter speed, typically up to 1/60th of a second. For optimal results, test the flash firing and adjust settings as needed. Always refer to the Speedlite 199A instruction booklet for detailed configuration and troubleshooting. To configure flash synchronization on the Canon A-1, set the shutter speed to 1/60th of a second or slower for optimal flash exposure. Ensure the Speedlite 199A is mounted correctly on the hot shoe. For manual override, disengage the lens aperture ring from the “A” mark and adjust as needed. The LCD display will indicate flash readiness and synchronization status. Refer to the instruction manual for detailed steps to achieve balanced flash and ambient light exposure in various shooting conditions. The Canon A-1’s LCD display provides essential shooting information, including shutter speed, aperture, and flash readiness. It also shows manual indications and flashing signals for exposure adjustments. The Canon A-1’s LCD display provides essential information for precise photography. It shows shutter speed, aperture settings, and flash readiness indicators. Manual mode is indicated with an “M” symbol, and flashing signals alert users to exposure adjustments. The display also highlights battery status and frame counter, ensuring photographers stay informed. This digital interface simplifies operation, making it easier to achieve desired results in both automatic and manual modes. Manual mode offers full control over aperture and shutter speed, allowing photographers to customize settings for precise results. The LCD confirms manual operation. The Canon A-1’s LCD display provides clear manual indication, showing a digital confirmation when manual mode is active. This ensures precise control over aperture and shutter settings. To operate the Canon A-1 in full manual mode, disengage the lens aperture ring from the A mark. Set the shutter speed and aperture manually to your preference. The LCD display confirms manual settings, ensuring precise control. Adjustments are made directly on the lens and shutter speed dial, offering photographers complete creative freedom. This mode is ideal for experienced users seeking exact exposures tailored to their vision. Enhance your Canon A-1 experience with essential accessories like the Motor Drive MA-8 for faster shooting and the Remote Release for stability. The Speedlite 199A flash unit optimizes lighting control. The Motor Drive MA-8 enhances your Canon A-1 experience by enabling faster continuous shooting, improving efficiency during dynamic photography sessions. Its seamless integration with the camera allows for smooth operation, reducing manual intervention and ensuring you never miss a shot. Designed for professionals and enthusiasts alike, this accessory boosts productivity while maintaining the A-1’s legendary performance and reliability. The remote release is an essential accessory for the Canon A-1, ensuring sharp images by eliminating camera shake caused by manual shutter presses. This tool is particularly useful for long exposures, macro photography, and low-light conditions. By minimizing physical contact with the camera, it enhances stability and helps photographers achieve precise control over their shots, resulting in clearer and more professional-looking images consistently. Identify and resolve common problems like film jams, battery drain, or flash synchronization issues. Regular cleaning and proper maintenance ensure optimal performance and longevity of the Canon A-1. Common issues with the Canon A-1 include film jams, incorrect exposures, and battery drain. To resolve these, check film loading techniques, ensure proper ASA settings, and maintain battery health. For flash synchronization problems, refer to the Speedlite 199A manual. Regularly clean the camera and lubricate moving parts to prevent mechanical failures. Always consult the instruction manual for detailed troubleshooting steps to maintain optimal functionality and extend the camera’s lifespan. Proper care ensures reliable performance for years of photography. Regular maintenance is crucial for the Canon A-1’s longevity; Clean the lens and viewfinder with soft cloths to prevent dust buildup. Lubricate moving parts and ensure the battery compartment is free from corrosion. Store the camera in a dry, cool place to avoid moisture damage. Avoid extreme temperatures and handle the camera with care to prevent mechanical wear. Following these tips ensures the Canon A-1 remains functional and ready for use, preserving its value and performance over time.Using Manual Override for Custom Settings
Flash Photography with the Canon A-1
Using the Speedlite 199A Flash Unit
Configuring Flash Synchronization Settings

The LCD Display and Its Functions
Elements of the LCD Display
Shooting in Manual Mode
Manual Indication on the LCD
Operating the Camera in Full Manual Mode
Accessories for Enhanced Functionality
Motor Drive MA-8 for Faster Shooting
Using the Remote Release for Stability
Troubleshooting Common Issues
Identifying and Resolving Common Problems
Maintenance Tips for Longevity