glo teeth whitening instructions
Glo Teeth Whitening Instructions: A Comprehensive Guide (Updated 02/12/2026)
Achieving a brighter smile is now within reach! This guide details Glo’s innovative approach, offering a pathway to remove years of stains gently and effectively․
Transform your teeth from coffee and wine-stained to pearly masterpieces, understanding potential side effects and maintaining long-lasting results with our detailed instructions․
Understanding Glo Science & Teeth Whitening
Glo Science represents a significant advancement in teeth whitening technology, moving beyond traditional methods that can cause discomfort or uneven results․ The system is built upon a foundation of dental professional expertise and cutting-edge light technology․ Unlike some whitening options, Glo focuses on a balanced approach, aiming for noticeable brightness without excessive sensitivity․
Many seek that “Hollywood smile” seen on social media, but quick-fix solutions often fall short․ Glo distinguishes itself by combining a professional-strength whitening gel with a specifically calibrated LED light․ This combination accelerates the whitening process, allowing for more efficient stain removal․ The technology addresses concerns surrounding carbamide peroxide, a common whitening agent, by optimizing its delivery and minimizing potential negative side effects․
Glo isn’t simply about aesthetics; it’s about restoring confidence through a safe and effective process․ It’s a system designed to deliver professional-level whitening in the comfort of your own home, or under the guidance of a dental professional․
How Glo Teeth Whitening Works: The Technology
Glo’s technology centers around a unique combination of a professional-grade whitening gel and patented LED light technology․ The gel contains a carefully formulated concentration of hydrogen peroxide, the active whitening agent, designed to penetrate the enamel and break down stain molecules․ However, the gel alone isn’t the complete story․
The Glo mouthpiece incorporates blue LED light, which activates the whitening gel, accelerating the breakdown of stains․ This light activation is key – it’s what differentiates Glo from over-the-counter whitening strips․ The light energy enhances the gel’s effectiveness, leading to faster and more visible results․
Furthermore, the mouthpiece design ensures optimal gel contact with the teeth, maximizing coverage and minimizing gel spillage․ This targeted application, combined with the LED activation, allows for a more controlled and efficient whitening process, reducing the potential for sensitivity often associated with traditional methods․ It’s a scientifically-backed system designed for optimal performance․
Benefits of Using Glo Teeth Whitening Systems
Glo teeth whitening offers several advantages over traditional methods․ Users experience noticeably brighter smiles, effectively removing years of staining from common culprits like coffee, wine, and juices․ Unlike harsh whitening strips, Glo’s technology aims for a more comfortable experience, minimizing teeth sensitivity and gum irritation․
The speed of results is a significant benefit; many users see a visible difference after just one treatment․ The professional-grade gel, combined with LED light activation, delivers powerful whitening without the lengthy commitment of some in-office procedures․
Moreover, Glo’s system provides a convenient at-home solution, eliminating the need for multiple dental visits․ The controlled application and targeted light technology contribute to a safer and more effective whitening process, helping individuals achieve a confident, radiant smile․

Preparing for Your Glo Teeth Whitening Treatment
Optimal results require careful preparation! Schedule a dental check-up, assess your candidacy, and address any potential sensitivity before beginning your Glo whitening journey․
Initial Consultation & Dental Check-up
Before embarking on your Glo teeth whitening journey, a thorough dental consultation is paramount․ This initial appointment allows your dentist to evaluate your overall oral health, identifying any existing conditions – such as cavities, gum disease, or exposed roots – that may impact treatment or require attention before whitening․
The dentist will assess the suitability of Glo for your specific needs, discussing your expectations and any concerns you may have․ They’ll examine your teeth for existing restorations (fillings, crowns) as these won’t respond to whitening and may require replacement post-treatment for a uniform appearance․
A professional cleaning is typically recommended prior to whitening to remove plaque and surface stains, maximizing the effectiveness of the Glo system․ This ensures the whitening gel can evenly penetrate the enamel, delivering optimal brightening results․ Don’t skip this crucial step!
Assessing Candidacy: Who is Glo Suitable For?
Glo teeth whitening is a fantastic option for many, but not universally suitable․ Ideal candidates generally have healthy teeth and gums, with minimal sensitivity․ Those seeking to address extrinsic stains – caused by coffee, tea, wine, or tobacco – will see the most dramatic results․
However, individuals with certain conditions may not be ideal candidates․ These include pregnant or breastfeeding women, those with severe gum disease, significant tooth decay, or exposed roots․ Existing restorations like crowns or veneers won’t whiten, potentially creating shade mismatches․
Patients with a history of teeth sensitivity should discuss this with their dentist, as pre-treatment desensitizing may be necessary․ A realistic expectation is also key; Glo can significantly brighten your smile, but achieving an “impossible” Hollywood white isn’t always feasible or healthy․
Sensitivity Assessment & Desensitizing Options
Prior to starting Glo whitening, a sensitivity assessment is crucial․ Your dentist will evaluate your teeth for existing sensitivity and discuss your history․ Some discomfort during whitening is normal, but excessive sensitivity requires attention․
Several desensitizing options can mitigate discomfort․ Using a fluoride toothpaste for a week or two before treatment strengthens enamel․ In-office application of fluoride varnish can also reduce sensitivity․ Potassium nitrate-containing toothpastes are effective for ongoing management․
During treatment, adjusting the duration or intensity of the Glo device can help․ If sensitivity becomes unbearable, pausing treatment and consulting your dentist is essential․ Remember, temporary discomfort is preferable to long-term enamel damage․ Proactive desensitization ensures a more comfortable and successful whitening experience․

Step-by-Step Glo Teeth Whitening Instructions
Follow these simple steps for optimal results! Prepare the vial and mouthpiece, apply the gel precisely, utilize the Glo device as directed, and rinse thoroughly afterward․
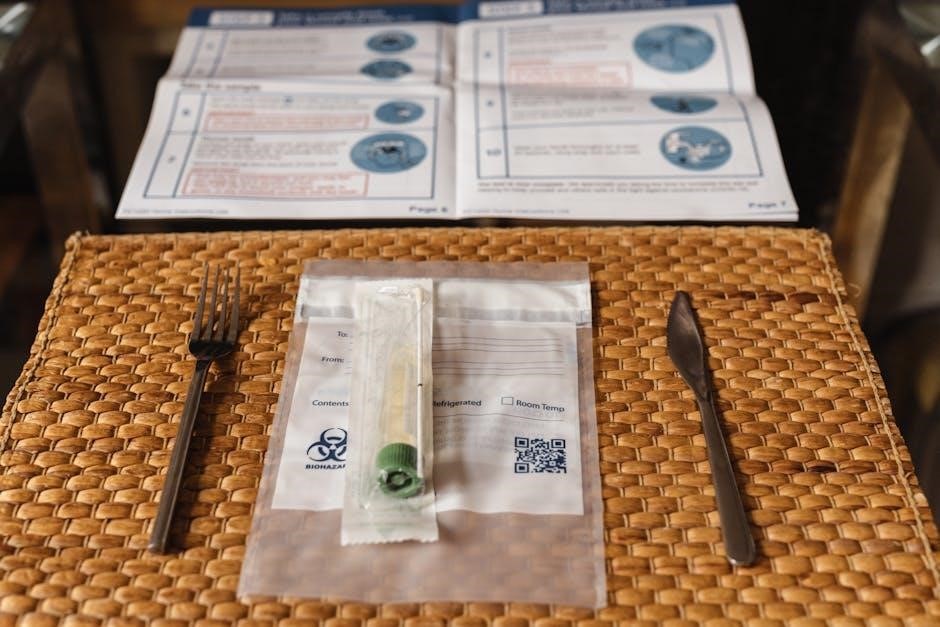
Step 1: Preparing the Glo Vial & Mouthpiece

Begin by ensuring both the Glo vial and mouthpiece are meticulously clean․ Gently twist the cap off the Glo whitening vial, being careful not to introduce any contaminants․ The vial contains the professional-strength whitening gel, crucial for achieving noticeable results․
Next, prepare the mouthpiece․ This typically involves a flexible, comfortable design molded to fit your teeth․ Inspect the mouthpiece for any damage or debris before use․ Ensure it’s completely dry to optimize gel adhesion․
Carefully dispense the appropriate amount of gel – usually a small bead – into each impression of the mouthpiece․ Avoid overfilling, as excess gel can cause gum irritation․ A precise application ensures even whitening and minimizes sensitivity․ Close the vial immediately after dispensing to maintain gel potency․
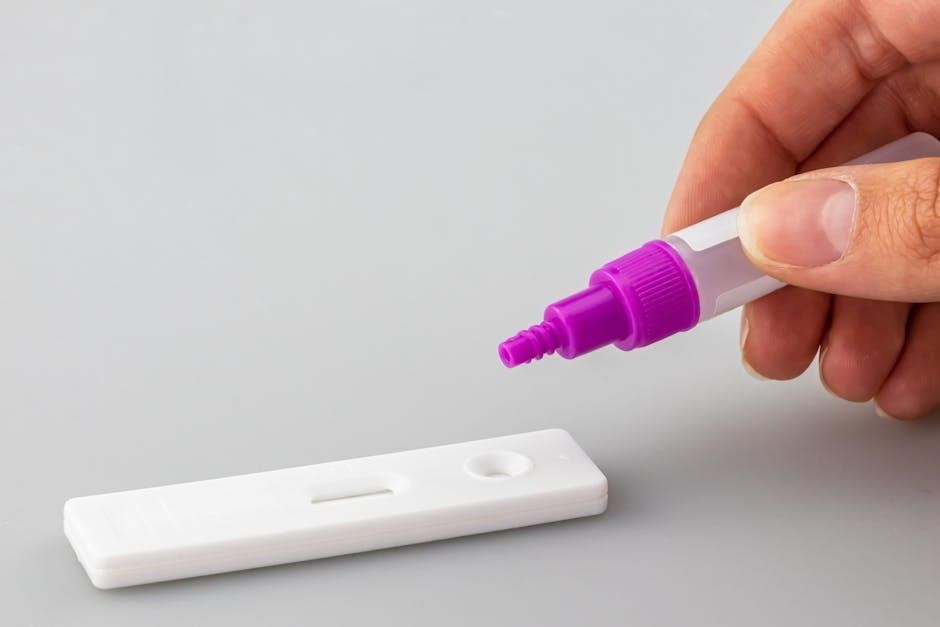
Step 2: Applying the Glo Whitening Gel
With the Glo mouthpiece prepared, the next crucial step is precise gel application․ Ensure you’re working in a well-lit area for optimal visibility․ Gently insert the filled mouthpiece into your mouth, carefully aligning it with your teeth and gums․
Apply gentle pressure to ensure the gel makes consistent contact with the tooth surfaces․ Avoid excessive force, which could cause discomfort or uneven distribution․ The gel should cover the visible portion of each tooth, avoiding the gumline as much as possible․
Check for any gel overflow onto the gums․ If present, carefully wipe away the excess with a clean, damp cloth․ Proper application minimizes irritation and maximizes whitening efficacy․ A thin, even layer of gel is key to achieving a brighter, more confident smile․
Step 3: Using the Glo Device – Treatment Duration
Once the gel is applied, it’s time to activate the Glo device․ Power on the device and select your pre-determined treatment time, typically ranging from 8 to 30 minutes, depending on your sensitivity level and desired results․
Position the Glo hands-free mouthpiece comfortably in your mouth, ensuring the LED lights are directly facing your teeth․ Relax and remain still throughout the treatment duration․ Avoid talking or moving excessively to maintain optimal contact and light exposure․
The device will automatically shut off upon completion of the cycle․ Remove the mouthpiece and proceed to the post-treatment rinse․ Consistent use, following the recommended timeframes, is vital for achieving noticeable and lasting whitening effects․
Step 4: Post-Treatment Rinse & Care

Following each Glo whitening session, a thorough rinse is crucial․ Gently swish with lukewarm water for approximately 30 seconds to remove any residual gel․ Avoid swallowing the water․
After rinsing, avoid consuming any colored beverages – coffee, tea, red wine – or staining foods like berries and soy sauce for at least 30 minutes․ This allows the enamel to rehydrate and minimizes potential for re-staining․
Consider applying a fluoride toothpaste to help remineralize the teeth and reduce sensitivity․ Maintain excellent oral hygiene with regular brushing and flossing․ Consistent post-treatment care significantly contributes to a brighter, longer-lasting smile․

Managing Sensitivity & Potential Side Effects
Whitening can sometimes cause temporary sensitivity․ Understanding potential gum irritation and enamel changes is key to a comfortable experience and maintaining optimal oral health․
Dealing with Teeth Sensitivity During Treatment
Experiencing teeth sensitivity is common during Glo whitening, as the gel temporarily dehydrates the teeth, exposing dentin and triggering nerve responses․ Fortunately, several strategies can effectively manage this discomfort․ Prior to and during treatment, utilizing desensitizing toothpastes containing potassium nitrate can significantly reduce sensitivity․

Adjusting treatment duration is also crucial; shortening sessions or skipping a day allows teeth to recover․ Avoid extremely hot or cold foods and beverages, as these can exacerbate sensitivity․ If discomfort persists, a fluoride treatment applied by your dentist can help remineralize enamel and reduce nerve stimulation․
Over-the-counter pain relievers like ibuprofen can provide temporary relief․ Remember, sensitivity typically subsides within a few days of completing the treatment, but consistent communication with your dental professional is vital for personalized guidance and addressing any concerns․
Addressing Gum Irritation & Soft Tissue Issues
Mild gum irritation is a potential side effect of Glo whitening, occurring when the gel comes into contact with soft tissues․ Proper application, ensuring the gel only covers tooth surfaces, is paramount in prevention․ If irritation occurs, immediately rinse your mouth thoroughly with water․
Avoid contact with gums during gel application and ensure the mouthpiece fits snugly to minimize leakage․ Using a soft-bristled toothbrush and gentle brushing techniques can further protect gums․ A saltwater rinse (warm water with ½ teaspoon of salt) several times a day can soothe inflamed tissues and promote healing․
If irritation is severe or persists, discontinue use and consult your dentist․ They may recommend a topical anesthetic or anti-inflammatory treatment․ Remember, maintaining good oral hygiene and careful application are key to minimizing soft tissue issues during your Glo whitening journey․
Potential for Temporary Tooth Enamel Changes
Temporary tooth enamel changes, such as increased sensitivity or slight dehydration, can occur during Glo teeth whitening․ These effects are generally mild and reversible․ The whitening process temporarily opens microscopic pores in the enamel, allowing whitening agents to penetrate․ This can lead to increased sensitivity to temperature and certain foods․
Staying hydrated by drinking plenty of water helps rehydrate the enamel and reduce sensitivity․ Using desensitizing toothpaste before and after treatment can also minimize discomfort․ Avoid highly acidic foods and beverages immediately post-treatment, as they can exacerbate sensitivity․
These enamel changes are typically temporary, resolving within a few days as the enamel remineralizes․ Consistent oral hygiene and avoiding harsh substances will aid in a swift recovery, ensuring a brighter, healthier smile with Glo․
Maintaining Your Glo Whitened Smile

Sustain your radiant smile by avoiding staining culprits like coffee and red wine․ Regular touch-up treatments and diligent oral hygiene are key for long-term brilliance!
Post-Whitening Diet & Habits to Avoid Staining
Protecting your investment in a brighter smile requires mindful habits․ Immediately following your Glo treatment, and for at least 48 hours, avoid darkly pigmented foods and beverages․ This includes coffee, tea, red wine, cola, and berries․ These substances contain chromogens, molecules that can readily bind to your teeth and cause discoloration․
Beyond the initial period, moderation is key․ While you don’t need to eliminate these items entirely, reducing their consumption will significantly prolong your whitening results․ Consider using a straw when drinking staining beverages to minimize contact with your front teeth․ Rinsing your mouth with water after consuming staining foods can also help․
Smoking and tobacco use are major contributors to tooth staining and should be avoided altogether․ Maintaining excellent oral hygiene – brushing twice daily and flossing – is crucial for removing surface stains and preventing new ones from forming․ A proactive approach to diet and habits will ensure your Glo-whitened smile remains radiant for longer․
Touch-Up Treatments & Long-Term Maintenance
Maintaining your Glo-whitened smile is a simple process․ While initial results can last a significant period, gradual discoloration will occur over time due to daily habits․ To combat this, consider incorporating periodic touch-up treatments into your oral care routine․
Glo offers convenient at-home touch-up kits designed to refresh your smile without the need for a full professional treatment․ These kits typically involve shorter treatment durations and lower concentrations of whitening gel․ Frequency of touch-ups varies depending on individual lifestyle and consumption of staining substances – generally every 3-6 months is recommended․
Consistent oral hygiene remains paramount․ Continue brushing twice daily, flossing, and attending regular dental check-ups․ Your dentist can assess your tooth enamel and recommend personalized maintenance strategies․ Proactive care ensures a lasting, confident smile, maximizing the benefits of your Glo whitening experience․