safety first 3-in-1 car seat manual
The Safety 1st 3-in-1 Car Seat is a versatile and durable child restraint designed for newborns to big kids, offering a safe and comfortable ride with advanced features․
1․1 Overview of the Safety 1st 3-in-1 Car Seat
The Safety 1st 3-in-1 Car Seat is a versatile child restraint designed to accommodate children from newborn to big kid, offering rear-facing, forward-facing, and booster modes․ It supports weights from 5 to 100 pounds, making it a long-lasting solution for growing children․ The seat features a space-saving design, machine-washable covers, and multiple adjustment options for harness and straps․ Its lightweight construction and advanced safety features ensure comfort and protection․ This car seat is ideal for families seeking a convenient, durable, and safe option for their child’s journey from infancy to youth․
1․2 Key Features and Benefits
The Safety 1st 3-in-1 Car Seat offers a top choice for parents seeking versatility and safety․ Its 3-in-1 design allows seamless transitions from rear-facing to forward-facing and booster modes, accommodating children from 5 to 100 pounds․ The seat features a space-saving rear-facing design, saving up to 7 inches of legroom, ideal for smaller vehicles․ Multiple harness and crotch strap adjustments ensure a customized fit, while machine-washable covers provide easy maintenance․ Its lightweight construction enhances portability, making it easy to transfer between cars․ These features make it a practical and durable option for families, ensuring comfort and protection for growing children․

Installation and Setup
Installation is secure and straightforward using LATCH or vehicle seat belts, ensuring a snug fit․ Follow the manual for proper setup and adjustments to ensure safety and comfort․
2․1 Rear-Facing Installation
For rear-facing installation, ensure the car seat is snug and level․ Use LATCH connectors or vehicle seat belts, following the manual for proper securing․ Tighten the straps until there’s less than an inch of movement side-to-side and front-to-back․ Always check the seat’s level indicator to confirm correct positioning․ Rear-facing is the safest position, so keep your child this way until they reach the maximum height or weight limit․ After securing, test the fit by gently rocking the seat to ensure stability․ Proper installation ensures optimal protection for your child during travel․
2․2 Forward-Facing Installation
For forward-facing installation, ensure the car seat is securely fastened using either the vehicle’s seat belt or LATCH system․ Tighten the harness and chest clip, ensuring proper fit across the child’s chest and hips․ Use the top tether strap for added stability and to reduce movement․ After installation, check that the seat belt or LATCH straps are snug, with less than one inch of movement side-to-side or front-to-back․ Always refer to your vehicle’s manual for specific instructions on forward-facing installation and ensure the seat is level for optimal safety․ Proper positioning ensures your child’s protection during travel․
2․3 Booster Seat Mode Installation
For booster seat mode, position the car seat upright on the vehicle’s back seat․ Use the vehicle’s lap and shoulder belt to secure the booster, ensuring the belt fits correctly across the child’s chest and hips․ The lap belt should lie snugly across the thighs, not the stomach, and the shoulder belt should cross the chest and shoulder․ Tighten the seat belt and ensure the booster seat is flush against the vehicle’s seat back․ Check for proper positioning by verifying the seat belt lies flat and untwisted․ Refer to the car seat manual for specific weight and height requirements, typically 40-100 pounds and 40-52 inches․ Ensure the booster seat is securely positioned and the child is properly buckled for optimal safety․ Always verify the installation by checking for less than one inch of movement side-to-side or front-to-back․ Proper installation ensures the booster seat functions correctly, providing essential protection for your child during travel․

Safety Features and Technologies
The Safety 1st 3-in-1 Car Seat features advanced safety technologies, including energy-absorbing foam, side impact protection, and a steel-reinforced frame to ensure optimal protection in various crash scenarios․
3․1 Advanced Safety Features
The Safety 1st 3-in-1 Car Seat is equipped with cutting-edge safety technologies designed to protect your child in various scenarios․ It features a steel-reinforced frame for added durability, energy-absorbing foam to reduce crash forces, and side impact protection for enhanced security․ The seat also includes a robust harness system with multiple adjustment options to ensure a snug and secure fit as your child grows․ Additionally, the booster seat mode incorporates a belt-positioning system to ensure proper seatbelt placement across the chest and hips․ These advanced features work together to provide superior protection and peace of mind for parents․
3․2 Material Quality and Durability
The Safety 1st 3-in-1 Car Seat is crafted with high-quality, durable materials to ensure long-lasting safety and comfort for your child․ The seat features a steel-reinforced frame for added strength and stability, while the padded fabrics are soft, breathable, and easy to clean․ The materials are carefully selected to meet rigorous safety standards, providing peace of mind for parents․ Additionally, the seat’s machine-washable covers and removable padding make maintenance simple, extending its lifespan․ Built to withstand the wear and tear of daily use, this car seat is designed to grow with your child while maintaining its structural integrity and safety performance over time․

Adjusting and Customizing the Car Seat
The Safety 1st 3-in-1 Car Seat offers multiple adjustment options, including harness, crotch strap, and recline settings, ensuring a proper fit and comfort for your growing child․
4․1 Harness and Crotch Strap Adjustment
Proper adjustment of the harness and crotch strap ensures your child’s safety and comfort․ To adjust the harness, first ensure the chest clip is at armpit level․ Pull the straps to tighten, making sure they are snug but not overly restrictive․ For the crotch strap, choose the appropriate slot based on your child’s height and secure it tightly․ Regularly check the fit to accommodate growth and ensure no twisting or looseness․ Incorrect adjustment can compromise safety, so always refer to the manual for precise guidance on achieving the perfect fit for your child’s age and size․
4․2 Recline and Positioning Options
The Safety 1st 3-in-1 Car Seat offers multiple recline positions to ensure a comfortable and safe fit for your child․ For rear-facing installation, the seat can be reclined to accommodate newborns and smaller infants, while forward-facing and booster modes allow for upright positioning․ Use the built-in level indicator to ensure the seat is correctly aligned with the vehicle’s seat back․ The recline feature helps optimize legroom, especially in smaller vehicles, without compromising safety․ Always refer to the manual to determine the appropriate recline position based on your child’s age, weight, and the vehicle’s configuration․ Proper positioning is key to maximizing safety and comfort․
Maintenance and Cleaning
Regularly clean the seat with mild soap and water, and machine-wash the removable covers․ Inspect harnesses and buckles for wear and tighten as needed for safety․
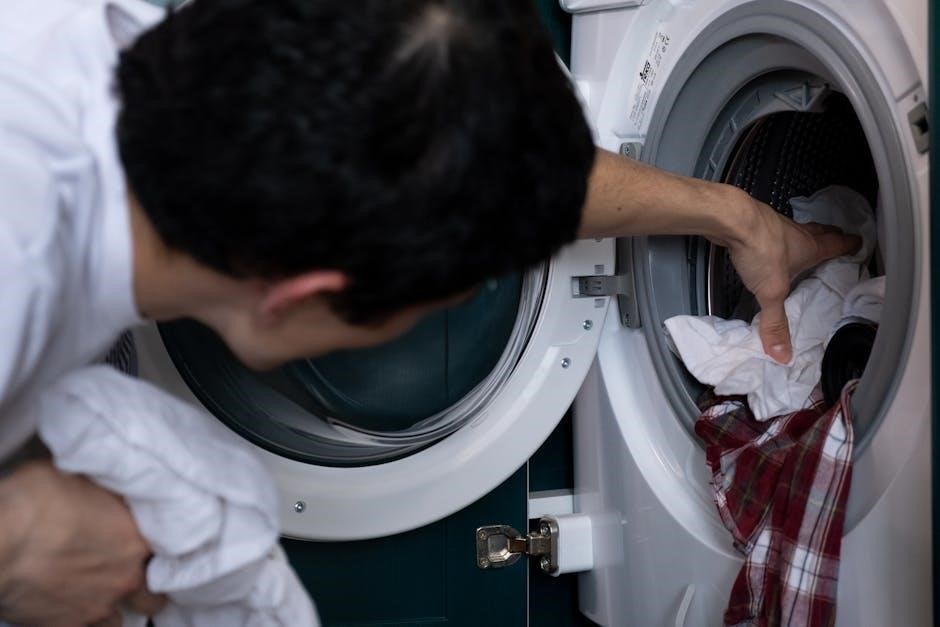
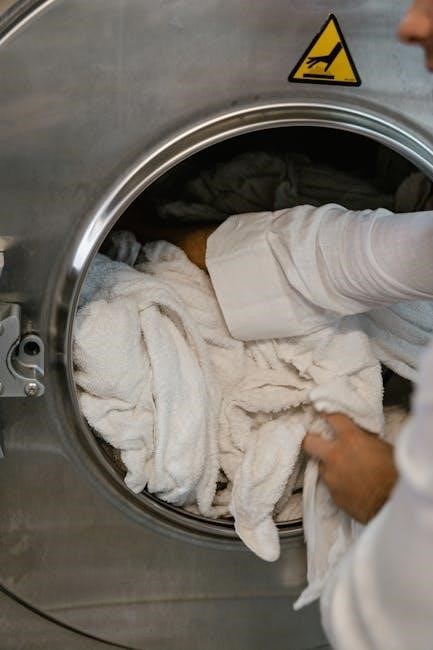
5․1 Machine-Washable Covers
The Safety 1st 3-in-1 Car Seat features removable and machine-washable covers, making maintenance easy․ These covers are designed with soft, breathable fabric to ensure your child’s comfort․ For cleaning, simply remove the covers and wash them in a machine using gentle cycles․ Avoid using harsh detergents or bleach to preserve the material quality․ Allow the covers to air-dry completely before reattaching them to the seat․ Regular cleaning helps maintain hygiene and ensures the seat remains safe and comfortable for your child․ This feature is especially convenient for busy parents who want to keep the car seat fresh and clean․
5․2 Regular Inspection and Maintenance
Regular inspection and maintenance are crucial for ensuring the Safety 1st 3-in-1 Car Seat continues to provide optimal safety and comfort․ Parents should check the harness, buckles, and straps for signs of wear or damage․ Tighten any loose parts and ensure the seat is securely installed․ The expiration date, found on the manufacturer’s label, must be checked to avoid using an outdated seat․ Cleaning and maintaining the seat according to the manual helps preserve its quality․ Store the manual for easy reference and replace the seat immediately if it exceeds its expiration date or shows significant wear․
Troubleshooting Common Issues
Address loose installations by tightening the seatbelt or LATCH system․ Check for twisted straps and ensure proper buckle alignment․ Refer to the manual for guidance․
6․1 Addressing Loose Installation
A loose car seat installation can compromise safety․ Always ensure the seatbelt or LATCH system is tightly secured․ Check the manual for specific tightening instructions․ Use the top tether to enhance stability․ Verify the seat is in the correct recline position for its mode (rear-facing or forward-facing)․ Ensure the seat is placed on a flat, stable vehicle seat․ If necessary, use approved leveling tools like pool noodles․ After installation, perform a final check by gently rocking the seat; it should not move more than one inch in any direction․ If it does, tighten the straps or consult a professional for assistance․
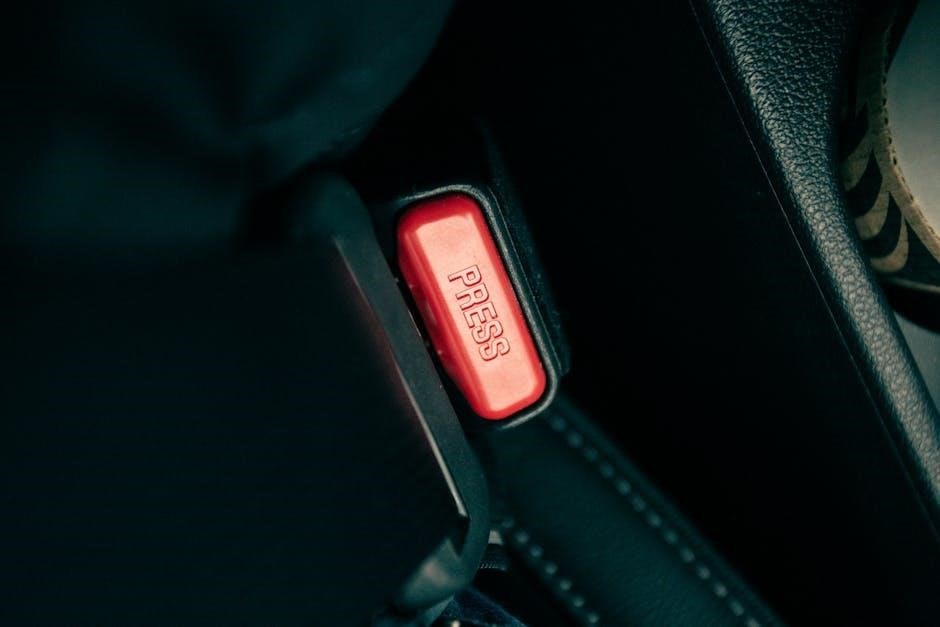
6․2 Solving Buckle and Harness Problems
Common issues with buckles and harnesses include twisted straps or difficulty securing the buckle․ To resolve, first ensure the harness is properly aligned and untwisted․ Tighten the straps evenly, checking the manual for guidance․ If the buckle is stubborn, clean it gently to remove any debris․ Ensure the crotch strap is correctly positioned and snug․ For persistent issues, refer to the manual or contact customer support․ Regular inspections and adjustments are crucial for maintaining proper fit and function, ensuring your child’s safety and comfort while riding․
The Safety 1st 3-in-1 Car Seat offers a safe, comfortable, and versatile solution for children from newborn to big kid, ensuring easy use and advanced features for happy travels․
7․1 Final Tips for Safe Usage
For optimal safety, always ensure the car seat is installed correctly and tight․ Regularly inspect the harness, straps, and buckles for wear or damage․ Adjust the harness and crotch strap as your child grows to maintain a proper fit․ Avoid using loose or bulky clothing under the harness, as it can compromise safety․ Never use expired or damaged car seats, and always follow the manufacturer’s guidelines․ Keep the seat clean and machine-washable covers fresh․ Refer to the vehicle’s manual for specific installation instructions, especially for booster modes․ Remember, a well-maintained car seat ensures your child’s safety on every journey․
7․2 Importance of Following the Manual
Adhering to the Safety 1st 3-in-1 Car Seat manual is crucial for ensuring proper installation, safety, and functionality․ The manual provides detailed guidelines tailored to the seat’s features, helping parents avoid common installation errors․ It also outlines weight, height, and age limits, ensuring the seat is used appropriately for your child’s stage․ Ignoring the manual can lead to safety risks, such as loose installations or incorrect harness adjustments․ Always consult the manual for specific instructions, especially when transitioning between modes or adjusting components like the crotch strap or recline․ Proper manual adherence guarantees optimal protection and peace of mind․